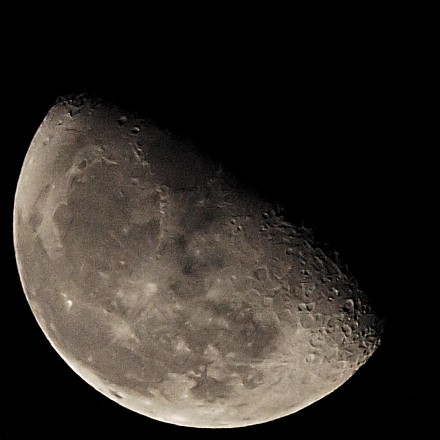
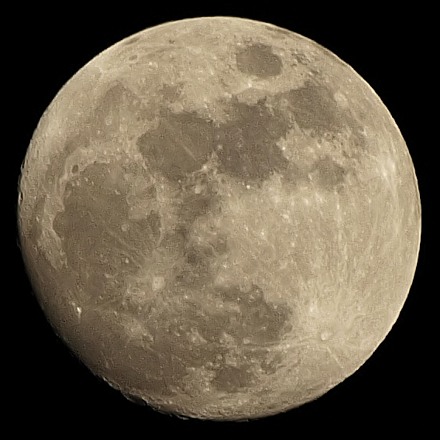
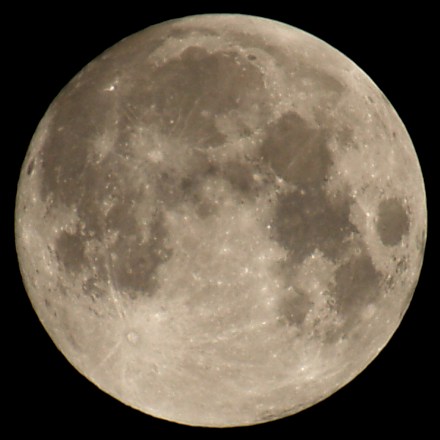
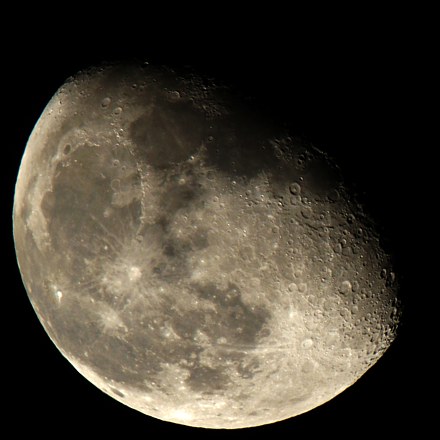
Follow the first rule — or else.
There are two reasons behind these simple rules. First, your metering circuitry will average the exposure over the night sky (most of the frame) and the bright Moon in the center. This will result in a hopelessly overexposed frame. Even if you have a spot-metering mode in your camera, you'll not avoid this, unless you are using a 400 mm or greater focal length.
Second, the Moon happens to be one of the easiest subjects to set the proper exposure for — manually, that is. Note that it's distance from the Sun is almost the same as Earth's, and it has no clouds. Therefore the daylight moonscape (and if we can see it at all, it is daylight!) is illuminated very much like an Arizona desert on high noon. We can use the "sunny 16" rule here: with the aperture of F/16 set the shutter speed to one over the ISO rating.
In reality, this rule usually needs a correction: I found that the results are better if the exposure is twice as long, or the aperture one F-stop wider. Thus, rather use a "sunny Moon F/11 rule" instead: at F/11 the proper shutter speed is one over ISO rating. (The reason may be light scattering in the atmosphere, but I'm not sure.)
Some Readers may not believe me here. "How come? The Moon is so far, 384,000 km away; does not the light decrease as a square of the distance!". Yes, but so does the apparent Moon's size (more exactly: the solid angle), so that the amount of light per steradian (or per pixel) remains the same, regardless of what distance we're shooting the Moon from. Remember: we are not using the Moon as the source of illumination (the Sun is that), but as the subject of the picture. If we moved the Moon twice as close to the Earth, my exposure values would stay the same, although the moonlit scenes on the Earth, true, would be four times brighter. Got it?
Most of digital cameras use ISO 100 as the basic setting. This means that the right exposure at F/11 would be 1/100 s. This is, in turn, equivalent to F/8 at 1/200 s, F/5.6 at 1/400 s, or F/4 at 1/800 s, and these are the settings you can choose from to be assured that the Moon will be exposed properly, unaffected by the dark sky around it.
While these shutter speeds sound perfectly handholdable, this may not be the case. You may have to increase the ISO setting and/or activate your camera's image stabilization, or (preferably) use a tripod. Let me explain.
There is a well-known rule of thumb, that the longest handholdable shutter speed equals to the reciprocal of the EFL (equivalent focal length). Therefore, say, if you are shooting at EFL of 400 mm (many superzoom models offer this length), 1/400 s should be fast enough, right?
Not quite. This rule assumes that you're viewing the full image from a "normal" viewing distance (usually assumed to be equal to the image diagonal). But your Moon at 400 mm EFL takes just 14% of the frame height (see the table above), so you will probably want to crop the picture to 20% (linear) or so. This magnifies all detail (including any camera shake) by a factor of five, being equivalent to extending the focal length by that factor. Your handholdable shutter speed becomes not 1/400 s but 1/2000 s, quite a different story!
The simple arithmetic behind this makes the focal length irrelevant in favor of the apparent Moon size in the final (cropped) picture. Another rule of thumb should be then used: if the Moon fills more than 50% of the final (cropped) picture height, the hand-held exposure must be 1/2000 s or shorter, regardless of the focal length.
You are no longer shooting at ISO 100 and 1/400 s, but rather at ISO 400 and 1/1600 s or so. And raising the ISO is not free: it adds noise to the image, especially in compact cameras. (The in-camera noise filtering will help with that, but at the expense of image detail; you can run, but you can't hide!)
Image stabilization (the real one, not just rising the ISO sometimes advertised as IS) will help here, and it seems to work more efficiently at the longer focal lengths, exactly where we need it. It may allow you to handheld a shot at shutter speeds 2× or 4× slower (1 to 2 EV, how this is often expressed) — but don't expect miracles: the 5 EV (32×)improvement comes from the marketing department, not from the lab!
For best results, especially on small-sensor cameras, use ISO 100 or 200 and a tripod. If you don't have a tripod handy, try at least to get some support (a fence, top of a car) and shoot a number of frames, to select the one showing least camera shake.
If you are using an SLR, remember that the effects of camera vibrations caused by the mirror are amplified proportionally to the lens focal length. If your camera has mirror lockup (mirror going up some time before the actual exposure), use it, especially for EFL of 300 mm or more.
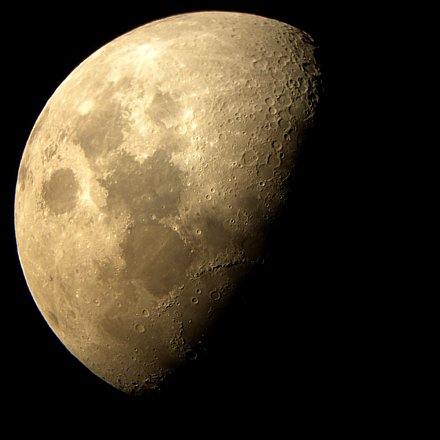
Note: the Moon's apparent motion (about 360 degrees per day, or 1/4 of a degree per minute, or one Moon diameter per two minutes) is much too slow to be a concern at the shutter speeds we're talking about. For example, with the Moon diameter being about 1200 pixels in the picture above, we would need to expose at about 1/10 s to get a one-pixel motion blur. And this is with a 1600 mm effective focal length, and an eight-megapixel image size!
And finally, if your camera has manual focusing, switch to it and set the focus for infinity (or, in case of an SLR, focus manually). Be aware that many lenses will allow you to manually focus past infinity, especially (but not only) when a lens attachment or a legacy lens is used.
Postprocessing
The picture straight from the camera should be quite presentable, with a significant amount of detail, but it may need some postprocessing in an image editor. The Moon's image suffers passing through Earth's atmosphere, which degrades the contrast quite a lot, and, to a lesser extent, sharpness as well.
Some equalization (stretching the brightness histogram) will help a lot without any loss of detail. Unfortunately, it will also enhance the visible image noise. This is not a problem if you shoot at low ISO settings.
Increasing the image contrast a bit (by applying an S-shaped adjustment curve) is a tempting option, as it gives the picture more impact. We have to remember, however, that it also may lead to some loss of shadow detail; this is especially visible in the terminator area (i.e., the transition between day and night areas of the Moon).
Be prepared to see some chromatic aberrationon the borderline between the sunlit Moon surface and the sky (that's where it is usually best visible). This is normal, unless you are ready to cough up $7000 for a 600-mm or longer prime lens. If you find this effect objectionable, convert your picture to monochrome; instead of the color fringe, you'll have just some unsharpness, much less visible. Another option is to use a mask brush along the affected line and desaturate the relevant color components of the image in the masked area (usually green/cyan, or purple/red).
If you are using a film camera, don't expect your prints look any good when they return from the photofinisher. The lab's computer, very much like your camera's autoexposure, will be fooled with the black sky, and the Moon will be burned out. Don't worry, the detail is still there, on your (manually exposed) film. Scan the film in high resolution and do the printing yourself; you will be amazed with the results.
Get out of town
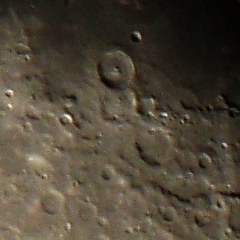
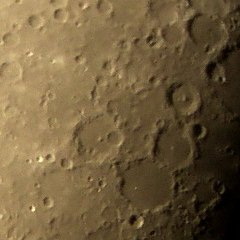
With a really long lens (like the ones used in the pictures shown here), and with a tripod used to avoid camera shake, the detail in your picture will be limited by how much air is there between your camera and the Moon, and how clean this air is.
There is one kilogram of air above you (assuming you're close to the sea level) per each square centimeter — and that's looking vertically (if the Moon is 45 degrees above the horizon, the light path through air is about 40% longer). This is roughly equivalent to a glass pane four meters thick, or to ten meters of water!
Humidity, dust, and density fluctuations (most significant in the lower part of that layer) all degrade the quality of your image, reducing contrast and sharpness. Therefore observing some common-sense rules may greatly enhance the quality of your Moon shots:
Get out of town to avoid pollution, dust, and the scattered city light. Your pictures taken in West Virginia will be much clearer that those from suburban Maryland.
Get to the mountains. At the altitude of Denver, Colorado (1500 m above sea level) the air layer above you is reduced by about 20%. This is a lot, remembering that these are the warmest, most humid, and usually most polluted and density-fluctuated 20%.
Choose dry weather: humid nights (even without visible mist) are worse than dry ones. Arizona will be much better than the East Coast.
Remember that even if you can enhance the lost image contrast in postprocessing, you will be also enhancing, to the same degree, the inherent sensor noise of your camera. The same holds about sharpness enhancement, therefore the less postprocessing you need to apply to your image to make it presentable, the more presentable it will be.
Use a telescope
My friend Hong Zhao from England found an old telescope in her friend's closet (well, actually she married him since). She dusted it off, and used her Olympus C-300Z (the same as the D-550 in the U.S.) to get this wonderful picture.
